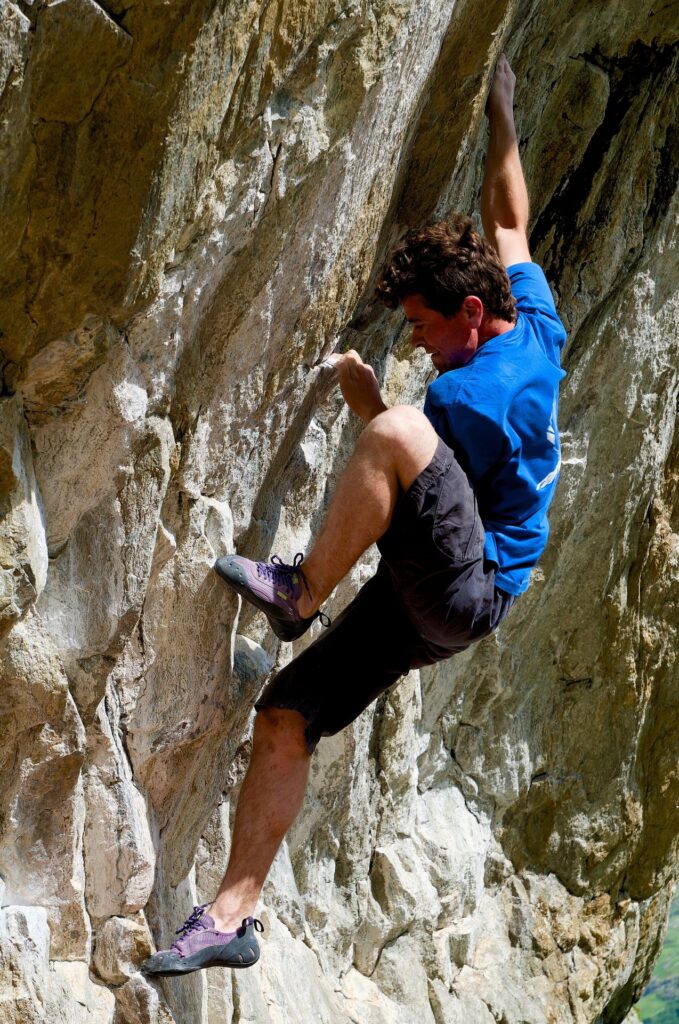
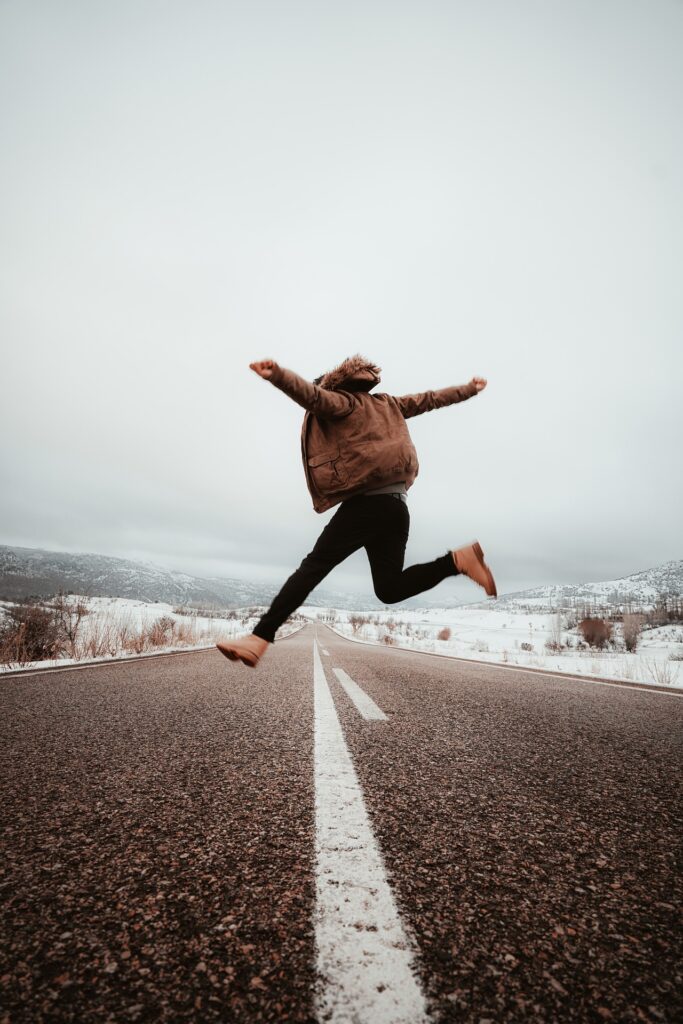
A fit and healthy lifestyle can be tough to keep up. True, it does make you feel a lot better than other folks who’ve decided to never leave the comfort of their couch. However, not everyone can make time for a trip to the gym. Or maybe jogging outside just isn’t appealing to you for some reason. But if those exercises aren’t your cup of tea then how the heck will you keep in shape? Two words. Bodyweight Exercise.
Body weight Exercises – What are they?
Bodyweight Exercises as defined by Fitday are exercises which don’t use any specialized equipment. Rather, the person exercising uses their own body weight to create resistance against gravity. This resistance fuels each work out by stimulating your muscles. Humans have been relying on Bodyweight Exercises to get fit for as long as we existed, according to the Manila Times. Every ancient culture exercised with their bodies such as the Greek soldiers and the Indian Yogis. That only makes sense as we would’ve needed to find a way to train our physical performance without any of the fancy weight machines that we have today. That isn’t to say that Bodyweight workouts have lost their sway in modern society though.
Manila Times also credited some international best selling books like Combat Conditioning and Convict Conditioning for the popularity of this type of exercise. Of course, Phys Ed teachers drilling us with pushups in school have also rooted the knowledge of Bodyweight exercise deep into our culture. Thanks to hectic work lives, many health buffs prefer to do Bodyweight exercise. And why not? The lack of complicated methods or facilities makes it very accessible. Even fitness coaches stand by its usefulness. Strength coach Zach Even mentions that Bodyweight training is critical for athletes to reach their full potential.
Bodyweight Regimens vs. Gyms
Bodyweight exercises are still exercise, so naturally they work to tune up your body. But let’s put aside the health benefits for now. You’re probably wondering why you should check out these simple exercises. After all, guys who workout in gyms always seem to be posting pictures of their buff bodies on social media. Isn’t that proof that weight training is better?
Well, not really. Darebee wrote that while gym goers get fast gains, people who take up Bodyweight exercise train many muscle groups simultaneously.
That means 2 things. Firstly, a single Bodyweight exercise can effectively replace multiple gym stations. And second, Bodyweight exercises concentrate on function over form. A bodybuilder who frequents a gym would certainly look impressive.
However, they wouldn’t stack up against a martial artist who does Bodyweight exercises. So now it’s established that you don’t need to hit the gym in order to take up Bodyweight training. But let’s take a deeper dive as to what that means.
One of the upsides is the cost you’ll save. The Hustle website reports that in the US, gym membership typically costs $696 for 12 months. That’s not even counting initiation fees for newbies and an additional annual fee. This is especially financially damaging if you can’t visit your gym at least several days a week. Meanwhile, Bodyweight exercises can be done at your leisure. Another factor to take in is injury. Of course, you could still hurt yourself if you don’t perform a Bodyweight exercise properly. But the number of equipment related accidents is far greater. The U.S Consumer Product Safety Commission found that gym equipment caused 1500 emergency room visits in 2009.
Also, a study by the University of Arkansas discovered a 35% increase of gym injuries in recent years. A lack of equipment to mishandle will definitely lower those chances. Lastly, Bodyweight exercises are more versatile than gyms. The Southern California Health Institute showcased their allure, saying that you can do them at your leisure. It’s easy to finish a 10 minute session in your living room or anywhere you want. It’s also possible to modify their difficulty, as told by personal trainer Jen Mueller. This makes these exercises accessible for both beginners and more advanced fitness fans.
Training without equipment can keep you healthy
Need more reasons to try out Bodyweight exercise? Adding them to your workout plan can give you many health boosts.
Health blog Fit & Me describes Bodyweight exercises as typically falling into one of two categories. Strength exercises including Push-ups and Lunges build your muscles. With that your body will be able to do physical work with less effort. In contrast, Cardio exercises like Burpees promote heart and lung health. This effect is maxed out if you bump up the intensity and intervals of each exercise.
Bodyweight exercise guards against diseases as well! An article on Dr. Axe noted the many perks of exercising this way. Bodyweight training serves as a shield against Diabetes because they turn blood sugar into energy. They produce brain chemicals too, called Endorphins. Endorphins help fight depression by creating a natural high that lifts your mood. The list doesn’t end there. Dr Axe also gleaned that Bodyweight exercising reduces the risk for Osteoporosis, Alzheimer’s and Cancer!
Lean muscles, Slim body
And finally, we come to the last factor everyone considers when exercising. Your appearance.
There’s a glaring disadvantage here. It’s impossible to nab that Greek god form that gym rats are proud of if you don’t use any equipment. Even so, Health Status’ team of specialists has verified that Bodyweight routines still excel in shaving off excess fat. Making compound movements forces muscles to burn more calories, which reduces body fat. Furthermore, intense exercise sessions will fuel metabolism. You’ll have the fit figure you’ve always wanted with Bodyweight training. Interested yet? Well not to worry! A compilation of some of the most useful, easy Bodyweight exercises out there is coming up next!
Bodyweight Exercises you can do anywhere, anytime
Push-ups
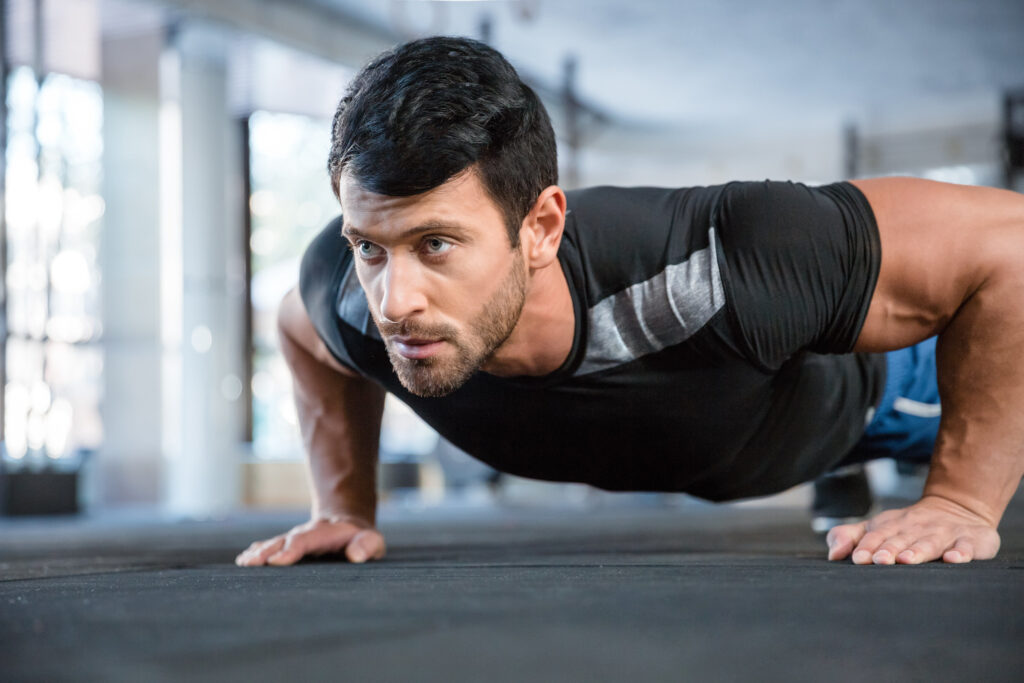
Affected body areas: Chest and Triceps (back muscles on the upper arm)
Tips:
- To be comfortable, do push-ups on a yoga mat or anything similar instead of on the floor.
- Place your hands directly underneath the shoulders with the fingers pointing in front of you to avoid wrist pain.
- Your palms should be flat on the floor to avoid straining your hands.
- Look face down during this exercise to avoid straining your neck.
- Keep your back straightened and flat.
Sit-ups
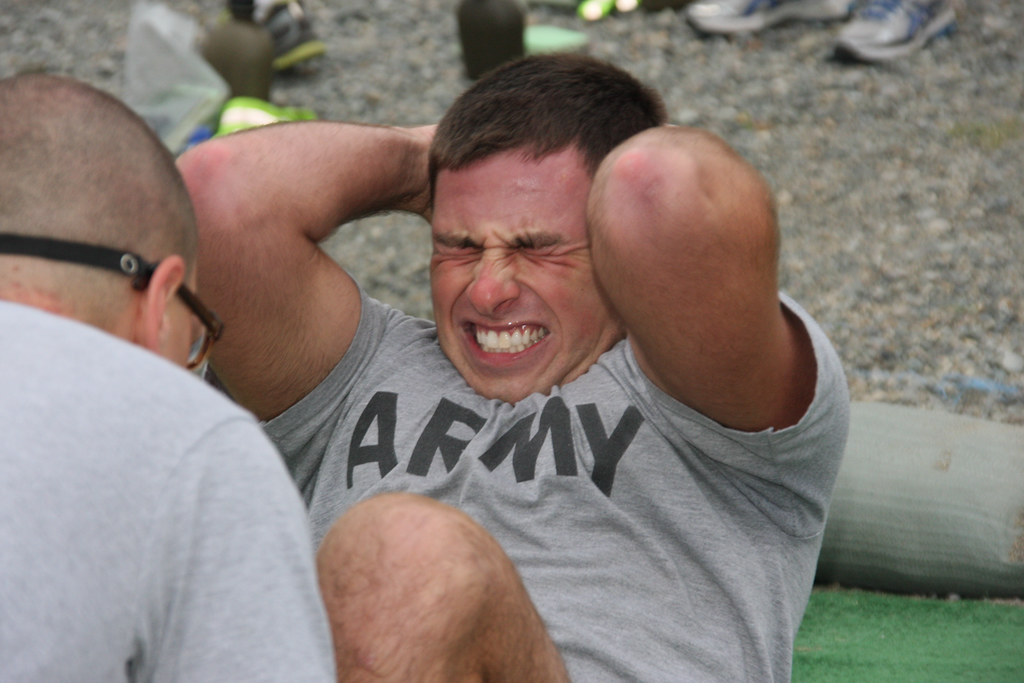
Affected body areas: Abdomen, Hips, Chest, Neck and Lower Back
Steps:
- Lie down on your back. Bend your knees and keep your feet on the ground.
- Tuck your chin into your chest.
- Join your fingers at the base of your skull behind your head, or cross your arms and touch each hand on the opposite shoulder.
- Exhale and lift your torso up towards your thighs.
- Inhale as you lower yourself back on the floor.
Tips:
- You can use weights or an incline to up the intensity of your workout.
- Do sit-ups on a mat or a towel to cushion your back.
- It’s alright to keep your spine slightly curved while you do sit-ups.
- Avoid rushing your movements.
Lunges
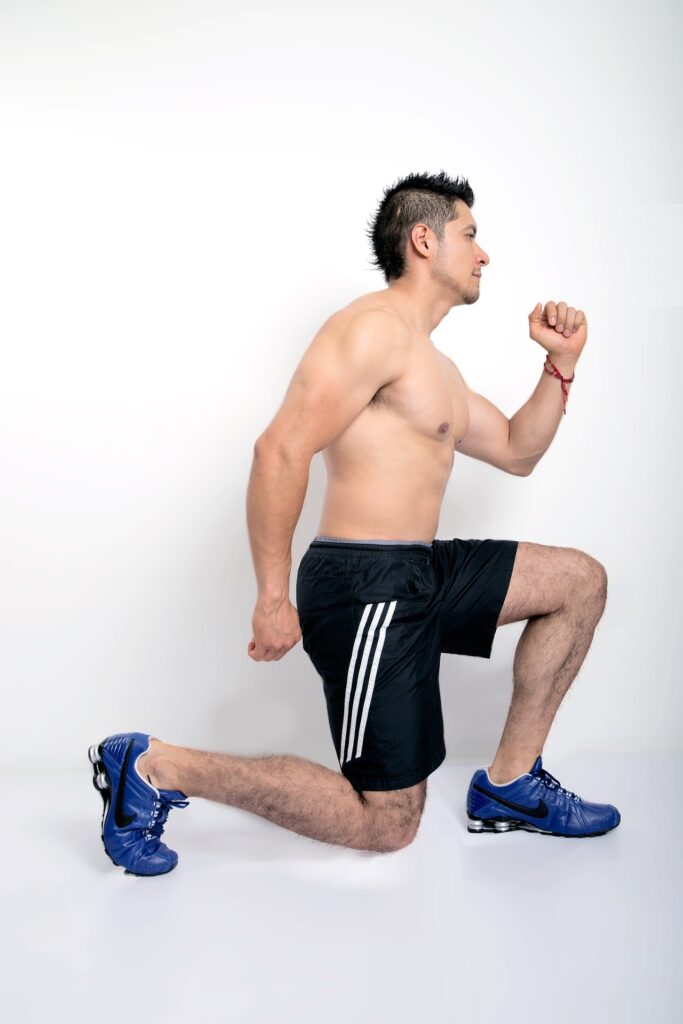
Affected body areas: Hips, Knees, Glutes (muscles in the buttocks) and Thighs
Steps:
- Stand straight with your feet aligned to your hips.
- Take a big step forward with your right leg. Place your weight forward so that the heel hits the floor first.
- Lower your body until your right thigh is parallel to the ground and your right shin is vertical. Make sure your right knee doesn’t pass your toes.
- If possible, tap your left knee to the ground while keeping your weight towards your right knee.
- Press your right foot to raise yourself back to your starting position.
- Repeat for your left knee.
Tips:
- Don’t bring your front foot directly in line with your back foot. That restricts mobility.
- Always take large steps so that your heel doesn’t come off the ground.
- Keep your back straight. Avoid bending your hips forward, that adds strain to your knees.
Squats
Affected body areas: Hips, Legs, Back, Shoulders, Arms and Knees
Steps:
- Stand up with your feet a little bit wider than your hips.
- Put your arms out in front of you. They have to be parallel to the floor.
- Breath in and push your butt backward. Make sure that you bring your hips backward before you bend your knees.
- Lower yourself down until your hips are lower than your knees.
- To raise yourself up, exhale, and drive yourself up with your heels.
Tips:
- Point your toes outward before beginning. Keep them about 5 to 20 degrees outward.
- Keeping your knees aligned to your feet. Push knees outwards if they begin to move towards each other.
- Look straight ahead while doing squats.
- Keep your heels on the ground. To check if you have it right, you should be able to lift your toes during the squat.
- Most of your weight should be supported by your heels. You must also maintain some weight on the balls of your feet. This is to stop them from coming off the ground.
- Keep your chest up, with your shoulders held back.
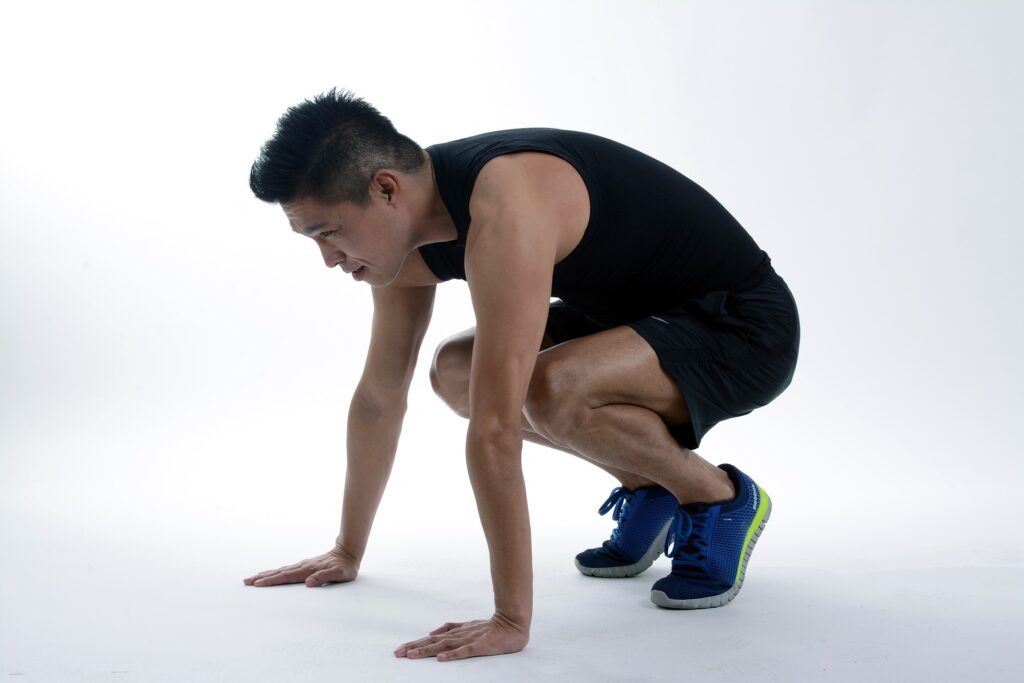
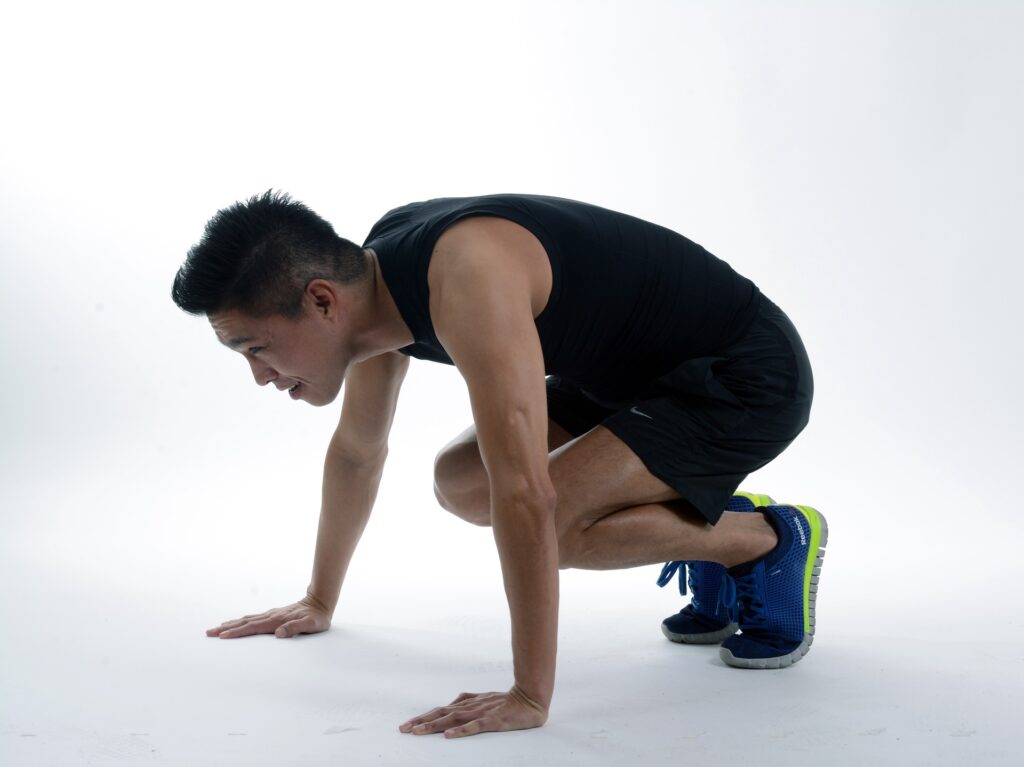
Mountain Climbers
Affected body areas: Arms, Shoulders and Quads (hip muscles)
Steps:
- Put both of your hands and knees on the ground.
- Bring your right knee close to your chest and extend your opposite leg behind you.
- Switch your legs, replacing one knee with the other. Keeping your arms in place.
- Keep switching your knees out quickly. Inhale and exhale with every leg change.
Tips:
- Your hands should be shoulder-width apart and positioned straight down from your shoulders.
- Keep your back flat. Your head must also be aligned and face down.
- Don’t raise your hips in the air as you move your legs.
- Maintain proper form. Don’t bounce your toes or let them touch the floor as you bring a knee in.
Plank
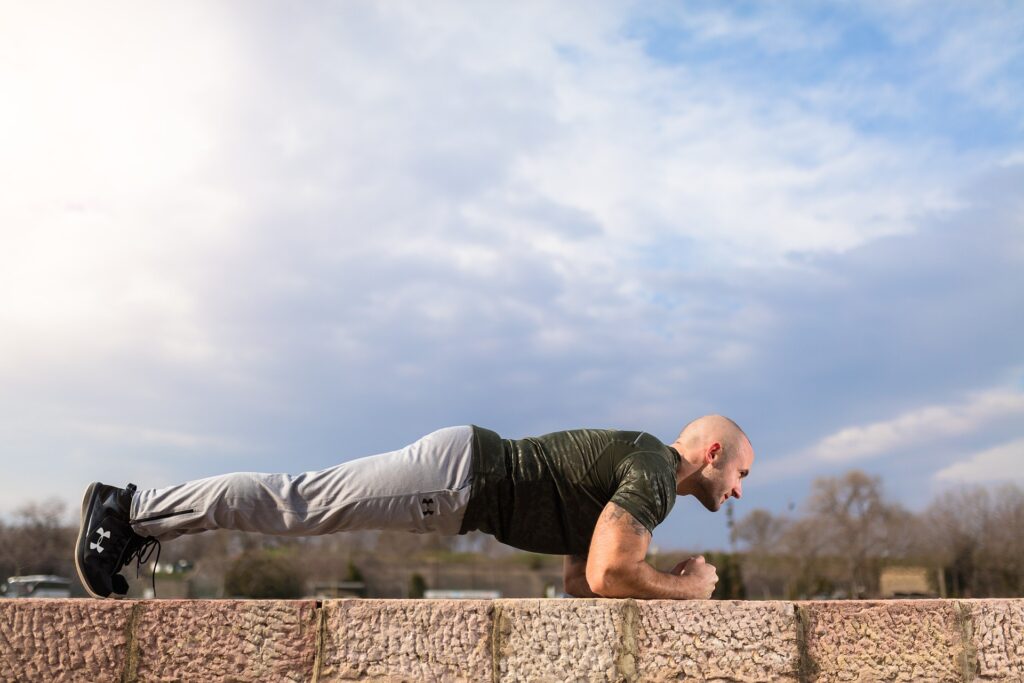
Affected body areas: Quads, Glutes, Arms and Abdomen
Steps:
- Put your hands on the floor, right under your shoulders.
- Step your feet back.
- Your body has to be straight, from your heels to your head.
- Stare straight down.
- Hold this position for a few moments before lowering yourself back.
Tips:
- If you want more stability, bring your feet wider apart. Do the opposite for an advanced version of a plank.
- Beginners should limit themselves to small intervals with a max of 30 seconds. On the other hand, advanced plankers should increase their time up to 2 minutes.
- Avoid dropping your hips. This adds strain to your lower back.
Bicycle Crunch
Affected body areas: Abdomen
Steps:
- Lie down with your back to the ground. Slightly raise your head and shoulders up.
- Hold the sides of your head with your hands.
- Lift a leg off the ground and push it away from you.
- Lift the other leg and bend its knee towards your chest.
- Twist your torso so the opposite arm approaches the lifted knee.
- Lower your leg and arm at the same time.
- Repeat the movement with your other leg and arm.
Tips:
- Don’t join your hand behind your head. That’ll cause you to forcibly pull your head while you crunch.
- The elbows don’t have to touch your knees as you crunch. Focus on shifting your abdomen to bring it near your knee without touching it.
Star Jacks
Affected body areas: Shoulders, Knees, Quads and Glutes
Steps:
- Crouch down. Place your arms on your sides and keep your feet at hip width.
- Rapidly jump up. As soon as you do, move your legs and arms outwards and to the sides.
- Tuck your arms and legs in before you land to return them to your starting position. Your feet must be under your hips and your arms at your sides.
- Return to a crouch before doing another star jump.
Tips:
- Soften your landing by leaning forward and bending your knees.
- Take care not to smash your knees together as you land from a jump.
V-ups
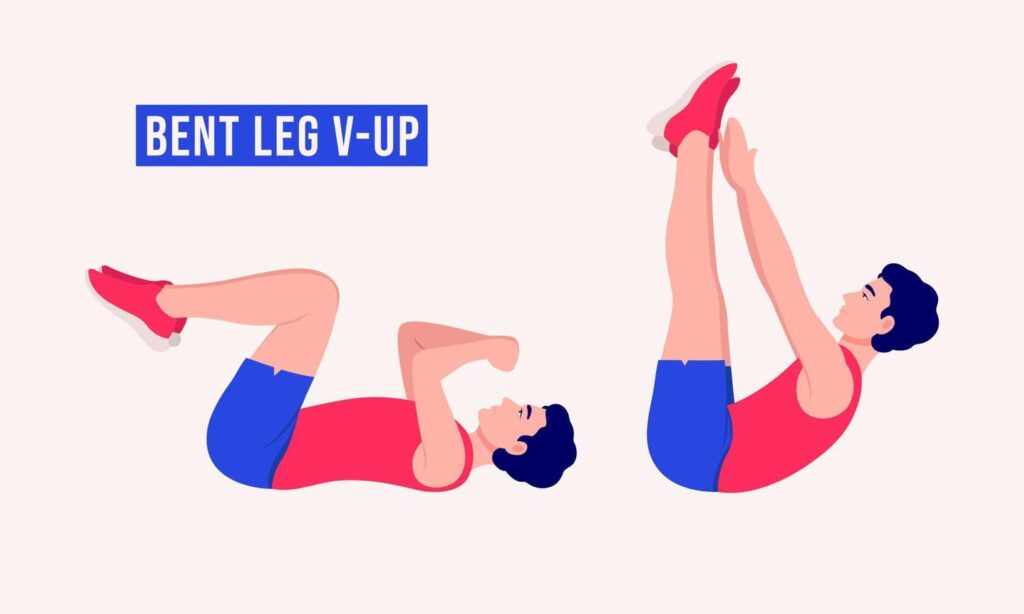
Affected body areas: Hips and Abdomen
Steps:
- Sit down with your hands and feet on the ground.
- Slowly lift your legs so that it forms a 45 degree angle from your torso.
- With your arms, reach forward or towards your shins.
- Hold this position for a few seconds.
- Slowly go back to your starting position.
- Stop just before you hit the floor and stay that way for a several seconds.
- Repeat the entire movement.
Tips:
- Make sure your back is straight when lifting yourself up to avoid straining it.
- Don’t hold your breath while you do v-ups.
- Keep your arms parallel to the floor. Avoid pointing them too high.
- Beginners can use their elbows to support their body as they lift their legs. They can also place their hands near their hips to support the v-up.
Burpees
Affected body areas: Abdomen, Chest, Arms, Shoulders, Buttocks, Hips and Legs
Steps:
- Start by squatting. Bend your knees, straighten your back and place your feet shoulder-width apart.
- Lower your hands in front of your feet.
- Put weight on your hands and drive your feet back to assume a push-up position.
- Do 1 push-up while keeping a straight figure.
- Kick your feet back into their starting position.
- Stand up and reach your arms above your head.
- Jump up.
- Bend your knees as you land. Squat again before doing repetitions.
Tips:
- Avoid going so fast that you injure your wrists or shoulders. Speed up reps only after you’ve gotten used to Burpees.
- Beginners can choose to skip the push-up, skip the push-up and jump or skip the jump. Add each part as you get stronger.